The claims process feels intimidating, but it follows a predictable path. Here's the step-by-step, and how having your roofer in the room changes the outcome.
The claims process sounds worse than it is. It follows the same sequence almost every time.
The homeowners who come out of it best are the ones who documented first and had their roofer in the room at the adjuster meeting. Here is the whole thing, start to finish.
Step 1 — Get inspected and documented first
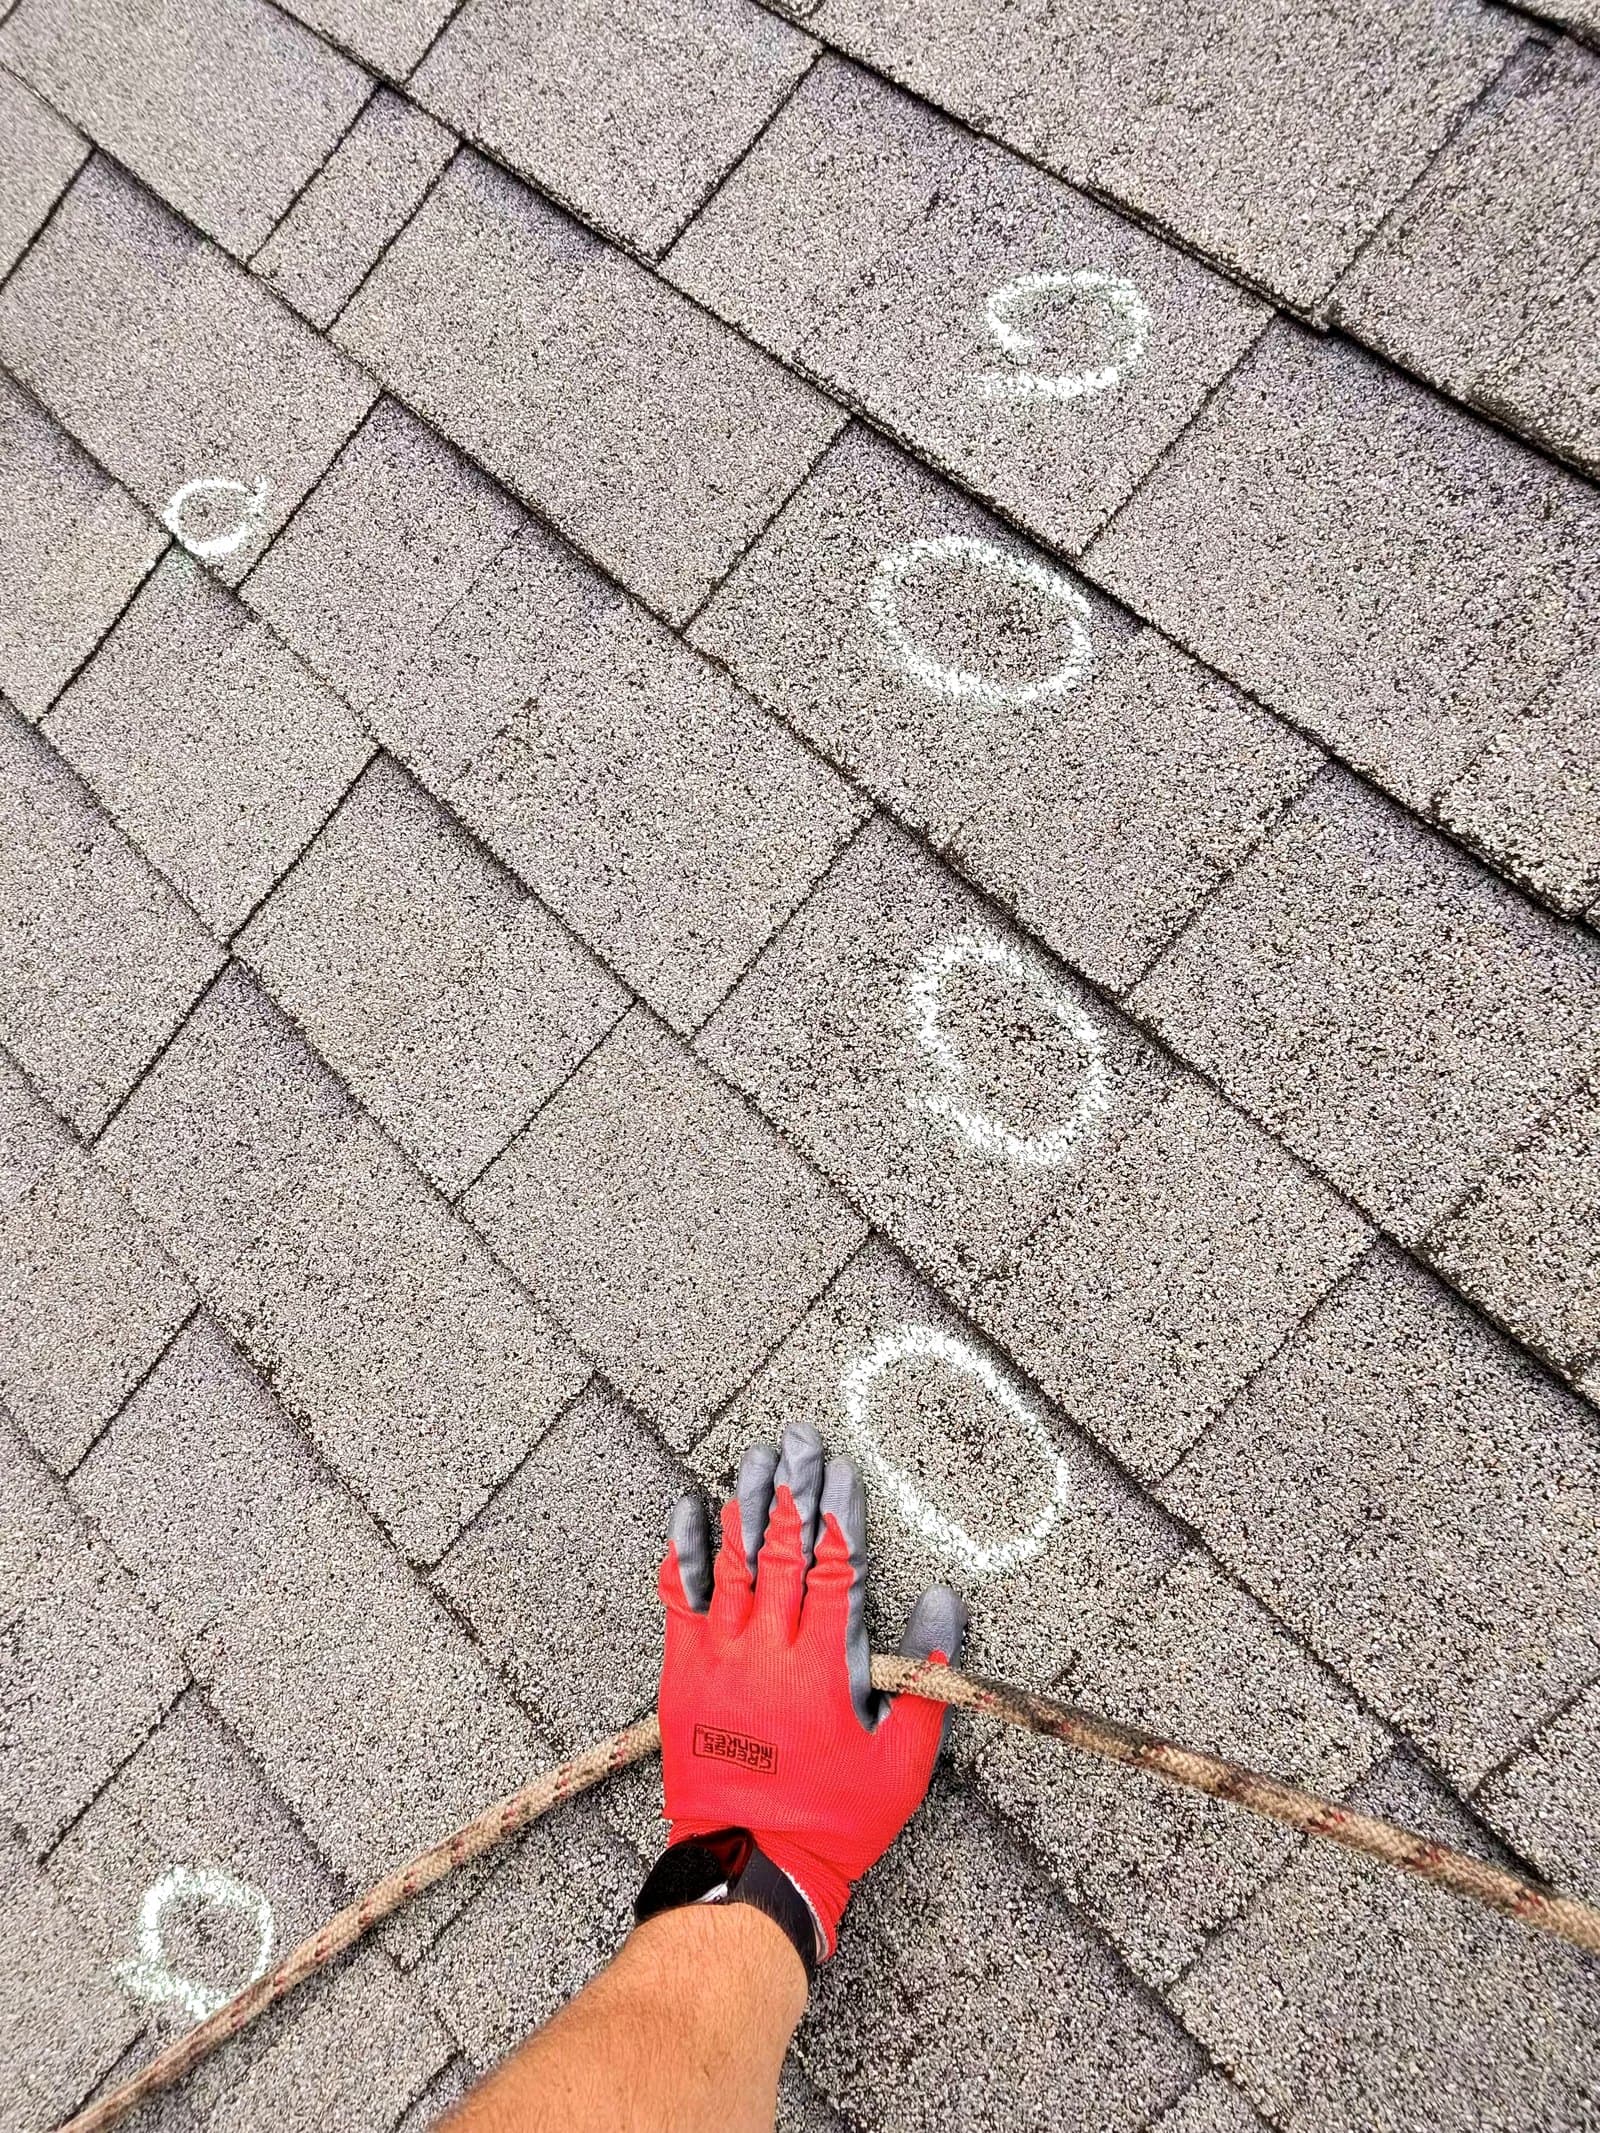
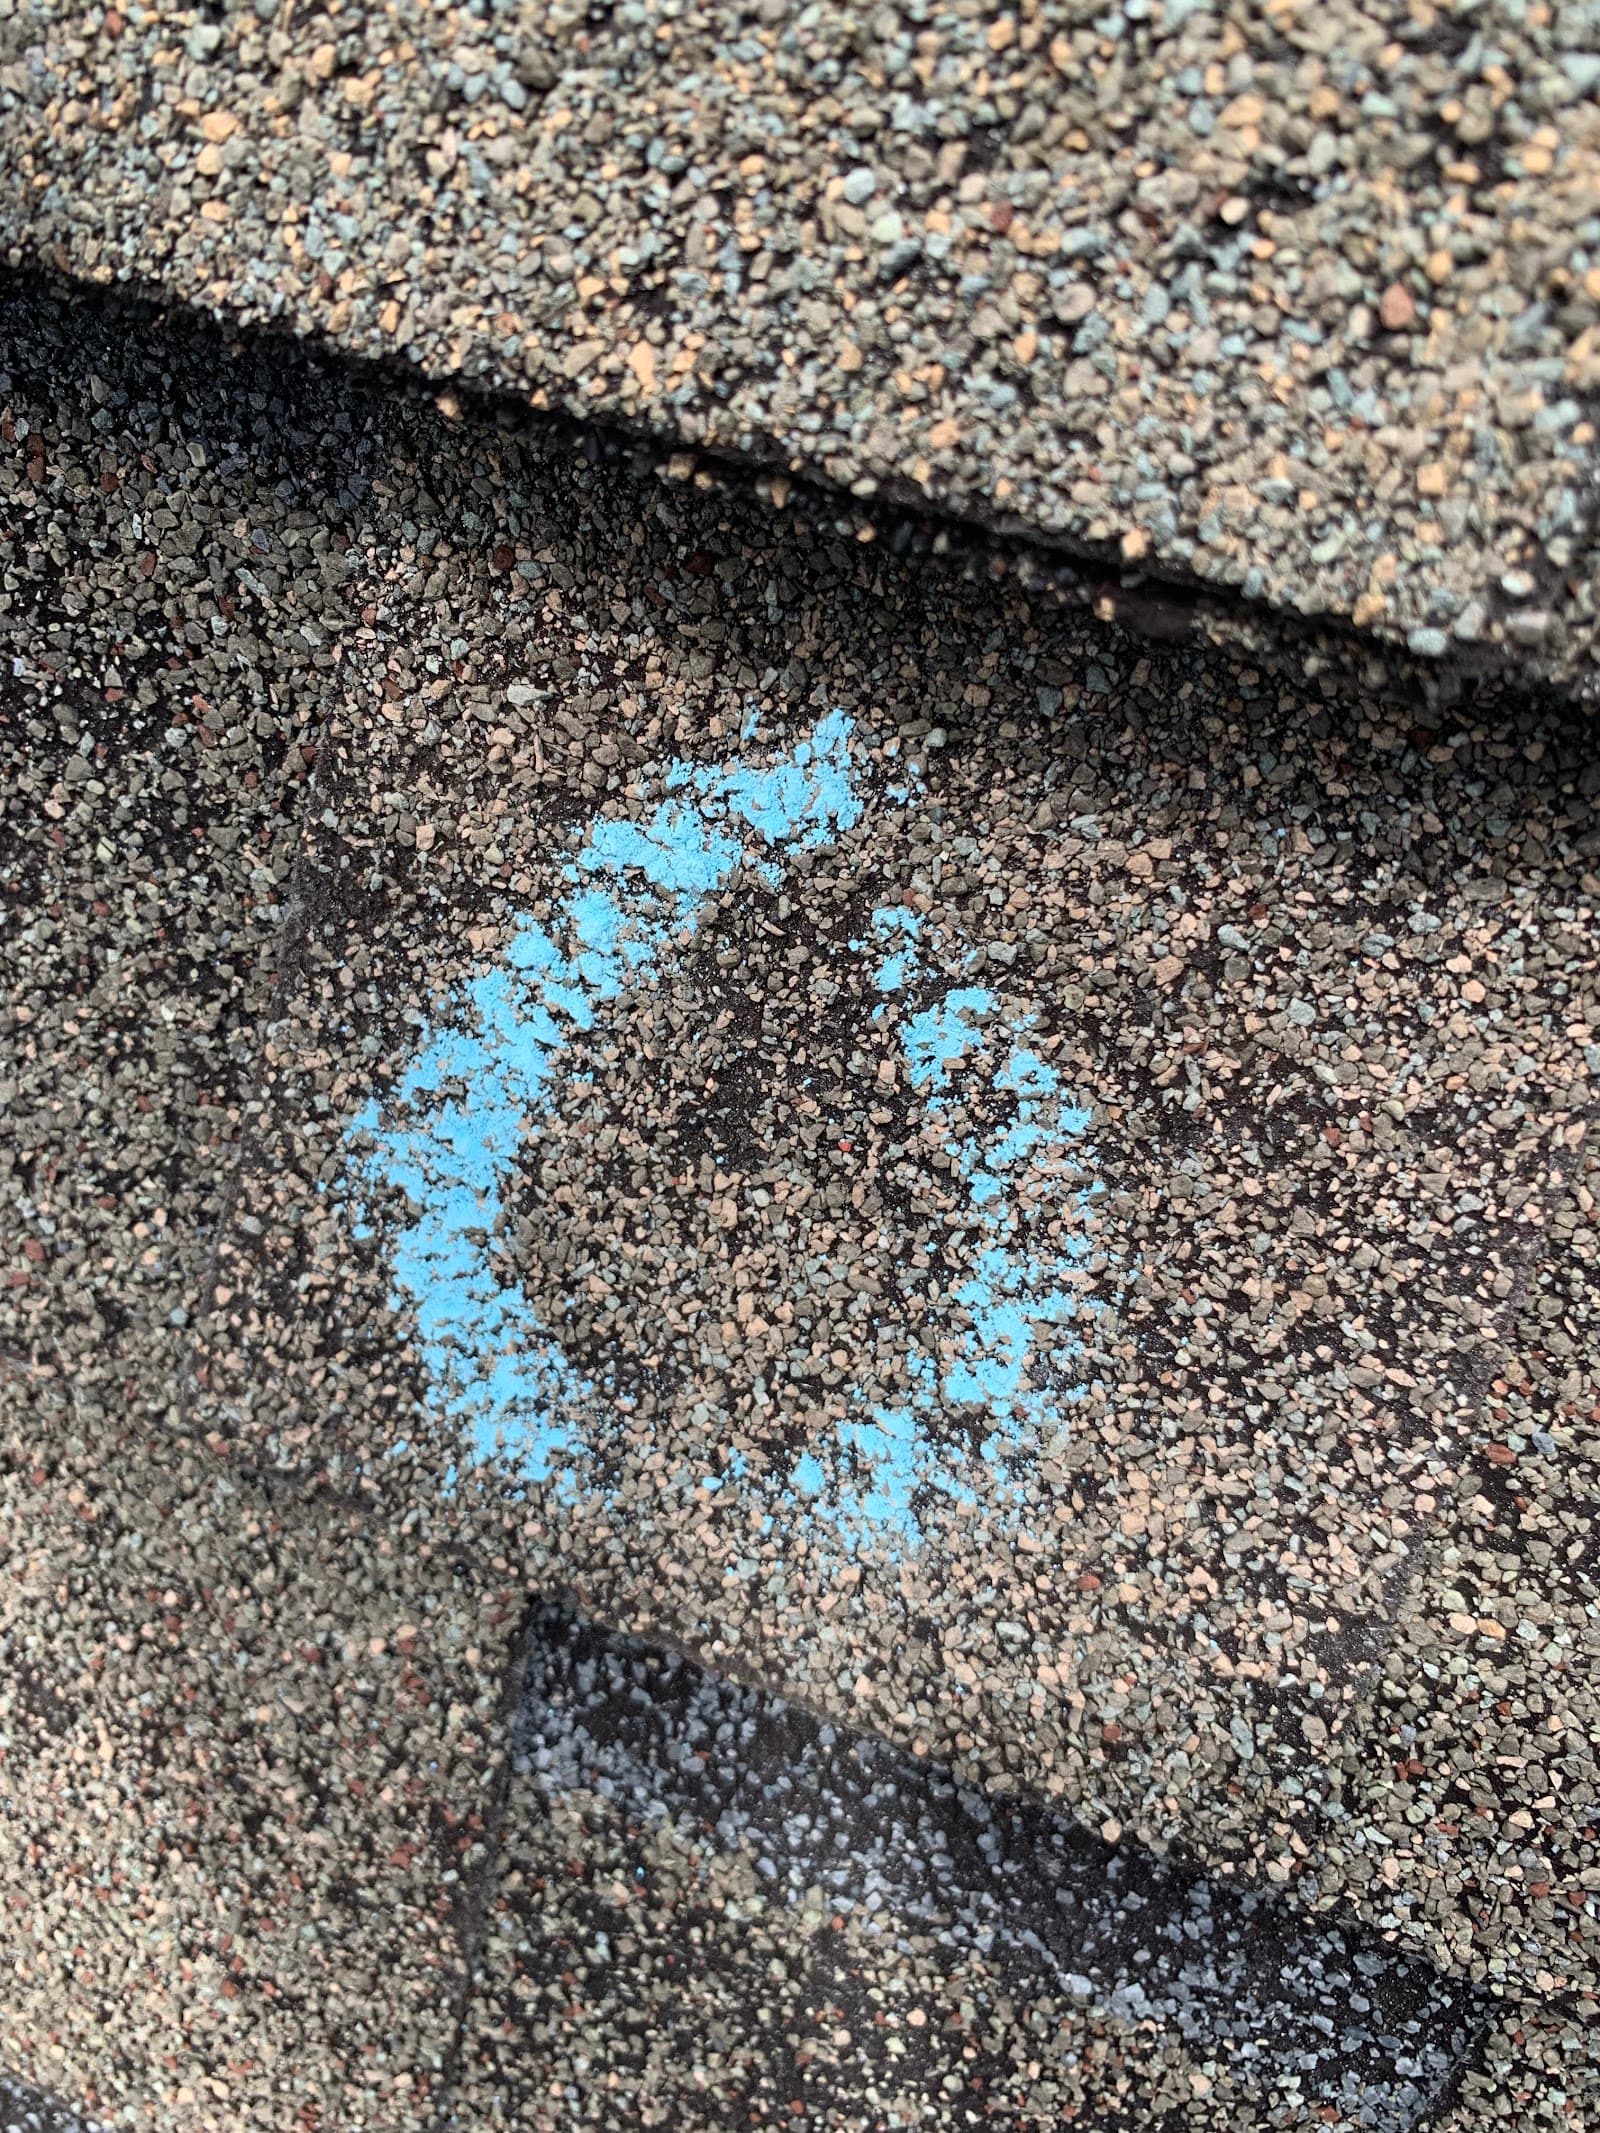
Before you call the insurance company, have a roofer look at the damage and photograph it.
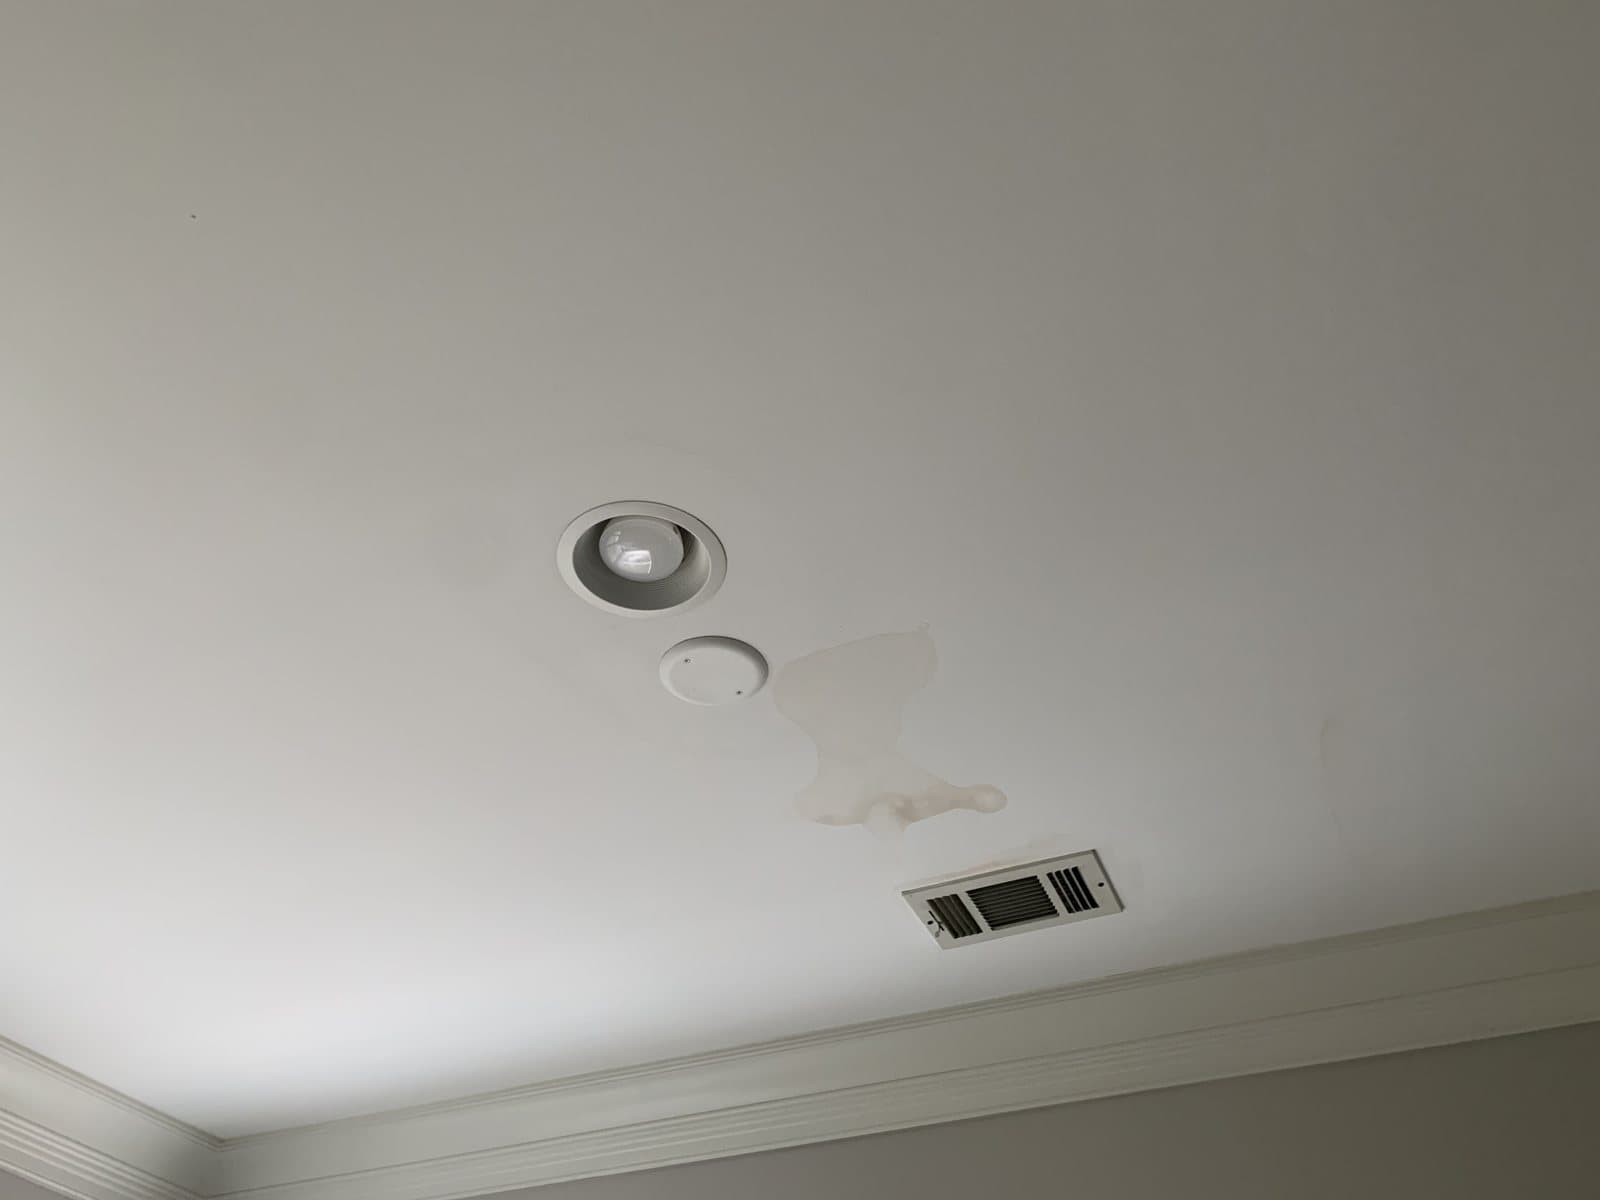
That tells you whether you even have a claimable loss, and it gives you an independent record. Calling in a claim for damage that turns out to be cosmetic can cost you and gets you nothing.
Step 2 — File the claim
Call your insurer, give them the storm date and what you are seeing, and they will assign a claim number and schedule an adjuster. Write down every call, every name, every date.
Step 3 — Meet the adjuster, with your roofer there
This is the step that decides the money.
The adjuster's scope determines what gets paid. When your roofer walks the roof alongside the adjuster, damage is far less likely to get missed or under-scoped. Two trained sets of eyes beats one person working through a long list on a hot day.
This is where claims are won or lost.
Most underpaid claims trace back to the adjuster meeting. A slope skipped, flashing left off, code upgrades not counted. Having your contractor there is the protection.
Step 4 — Read the scope and the payment
The insurer sends a scope of loss and an initial payment, often the actual cash value with depreciation held back.
Your roofer can read it for missing line items — flashing, ventilation, code-required work — and submit a supplement when something was left out.
Step 5 — Do the work, collect the depreciation
On a replacement-cost policy, once the job is finished and invoiced you submit for the recoverable depreciation, which is the rest of the money the insurer held back. Your final out-of-pocket is usually just the deductible.
The four mistakes that cost the most
- Calling the insurer before anybody has confirmed there is real, functional damage.
- Letting the adjuster inspect alone with no contractor there.
- Accepting the first scope without having somebody read it for missing items.
- Signing an open-ended contract with a storm chaser at the door.
We handle this with you end to end — inspection, documentation, the adjuster meeting, supplements, and the rebuild — so you are not negotiating a claim by yourself.
Bailey Roofing & Restoration offers free, no-pressure inspections across Buford and North Georgia — with photo documentation you can keep whether or not you file a claim.
This is general information, not legal or insurance advice. Every policy is different. Read yours and confirm with your insurer.
Want a straight answer about your roof?
Book a free, no-pressure inspection. You get photos and an honest assessment — whether or not you do anything about it today.
Frequently asked
Should I get a roof inspection before or after I file a claim?
Before. An inspection tells you whether you have functional, claimable damage and gives you the documentation, so you are not filing a claim that goes nowhere.
Can my roofer meet with the insurance adjuster?
Yes, and they should. Having your roofer on the roof with the adjuster is the single best way to keep damage from being missed.
What is recoverable depreciation?
On replacement-cost policies the insurer holds back depreciation up front and pays it after the work is finished and invoiced. Once the job is done, you submit for the rest.